Vintage Industrial Metal Cabinet Upcycle Project
The Backstory
We drove 70 miles to Rotherham to pick up this vintage french metal cabinet that was meant to be in "very good condition" and we were expecting to put straight into the office. I should have know when the eBay seller was quick to accept my opening offer of £40, half what he was asking for it, that something wasn't quite right.
We ended up collecting it from the seller's mum as the seller was supposedly in France, presumably sourcing more broken vintage furniture to sell to unsuspecting people on eBay. The cabinet was surprisingly heavy for its size and, even though there was a few blokes around, there was no offer of helping us lift it into the van, just lots of watching our struggle and commenting that they used to know someone with a T25 van too. Great.
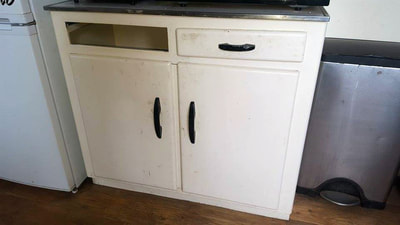
Once we got our new cabinet home we were able to fully assess the damage. In the light it literally looked like it had just been dragged out of someone's dirty house, food stains and all. And it probably had.
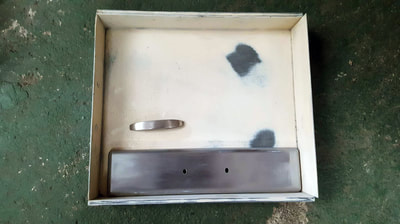
In addition to the cabinet's general uncleanliness, the centre drawer runner had broken away from the main frame, it had a peeling chipboard top and was coated in weird old (probably lead) paint that was flaking off every time the broken drawers were forced open.
It was at this point I set fire to the business card the seller's mum had so earnestly pressed on me a few hours earlier.
But despite the cabinet's (many, many) faults we had no buyer's remorse (ok, we had a little bit of buyer's remorse) as it was still solid so we saw potential and were determined to restore it to former glory.
Welding Modifications and Powder Coating
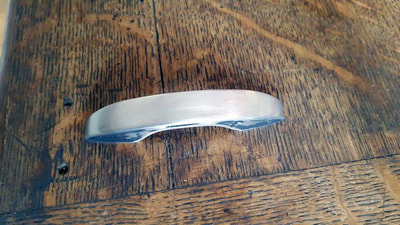
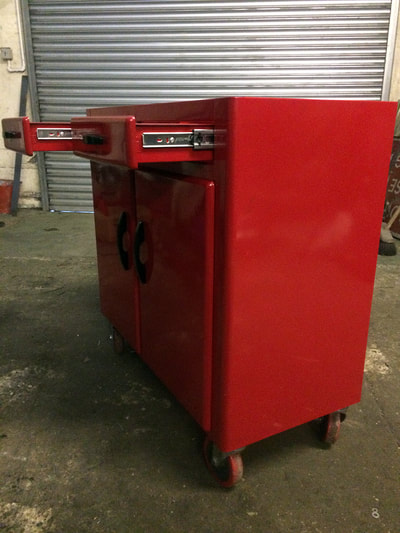
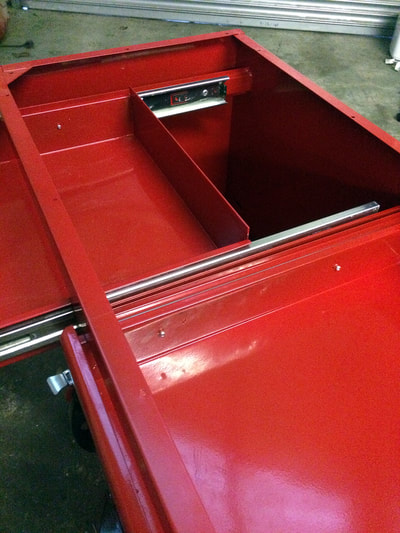
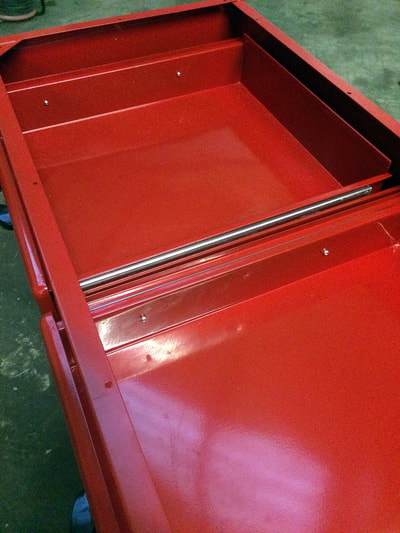
First Matt needed to fix the broken drawer runner. Instead of keeping the old runners we decided to fit some new, heavy-duty ball bearing runners to give it a modern feel as we'd be using this cabinet every day and wanted the drawers to open nice and smoothly instead of the metal on metal scraping they were currently doing (did I mention the flaking paint?) To do this Matt needed to modify the brackets and widen the drawer gaps to allow for the wider runners.
Once that was done we decided to get the cabinet stripped and powder coated for a durable and long lasting finish. I did briefly consider stripping it down myself but as the first drawer I got to work on was stubbornly resistant to my sanding efforts we realised, as we had no idea what the old paint was made up of (lead. I'm guessing lead.) it would be safer and more time efficient to let a professional take on the job.
After being rejected by a few local companies because it was too big to fit in their dipping bath, I was finally put on to a guy in Elvington who agreed to take on the stripping and powder coating of our vintage cabinet.
When Mark first laid eyes on our offering he mistook it for an old washing machine and looked quite skeptically on our story that it was a 1950s cabinet from France (I'm not sure we believed the story at this point either, Mark).
But by the time we came back to collect it our powder-coater's opinion of the cabinet had done a full 180. NOW he thought we were really selling this rare vintage piece for a quick profit and assured us with a knowing nod that we "wouldn't lose out" on it.
That Chipboard Top Needs to Go
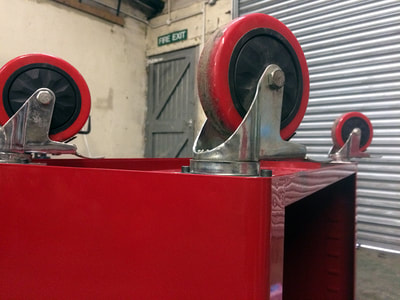
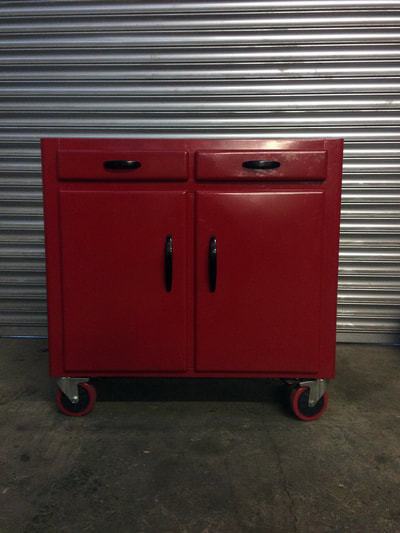
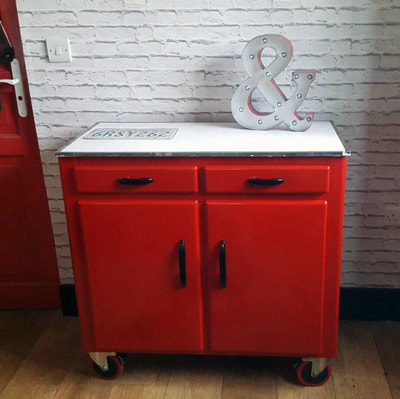
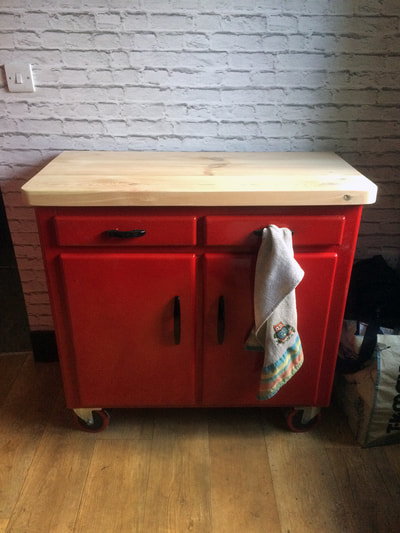
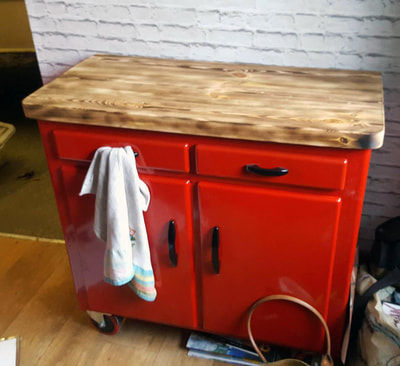
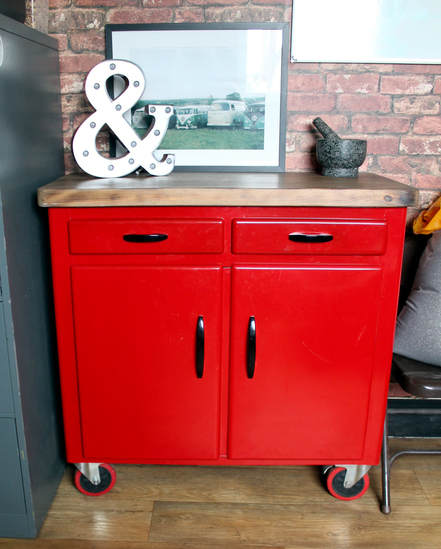
Stripped of all that nasty old paint, powder coated in a bright postbox red and reassembled with new matching red industrial castor wheels and ball-bearing drawer runners this cabinet was shaping up pretty nicely. The only thing left to change was that horrific chipboard top.
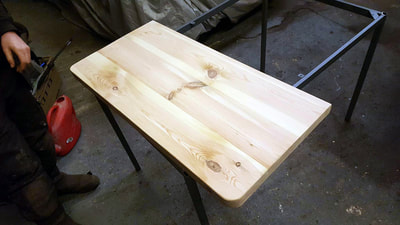
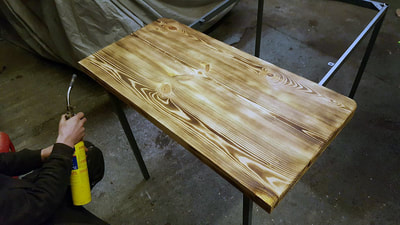
After sourcing some reclaimed wooden rafters we needed some a joinery expert to make the top for us. Luckily we have an amazing on site joiner to do the work for us. Next, we decided to take a blowtorch to the entire top to bring out the grain of the wood and give it some character. Finally it was stained and waxed which really finished it off.
After sourcing some reclaimed wooden rafters we needed some a joinery expert to make the top for us. Luckily we have an amazing on site joiner to do the work for us. Next, we decided to take a blowtorch to the entire top to bring out the grain of the wood and give it some character. Finally it was stained and waxed which really finished it off.
The Finished Product
We're really pleased with how the cabinet turned out and a year later it's still looking great. We're so glad we didn't write this cabinet off straight away and condemn it to the scrap heap as we've been able to make something truly original from it that's both vintage and very practical, and gets plenty of compliments from visitors too, which is always nice.
After the success of this project, we've recently acquired a few more "vintage" (broken) cabinets that we're looking forward to transforming (and are a bit more ambitious than this one) so stay tuned to see our progress.
After the success of this project, we've recently acquired a few more "vintage" (broken) cabinets that we're looking forward to transforming (and are a bit more ambitious than this one) so stay tuned to see our progress.
