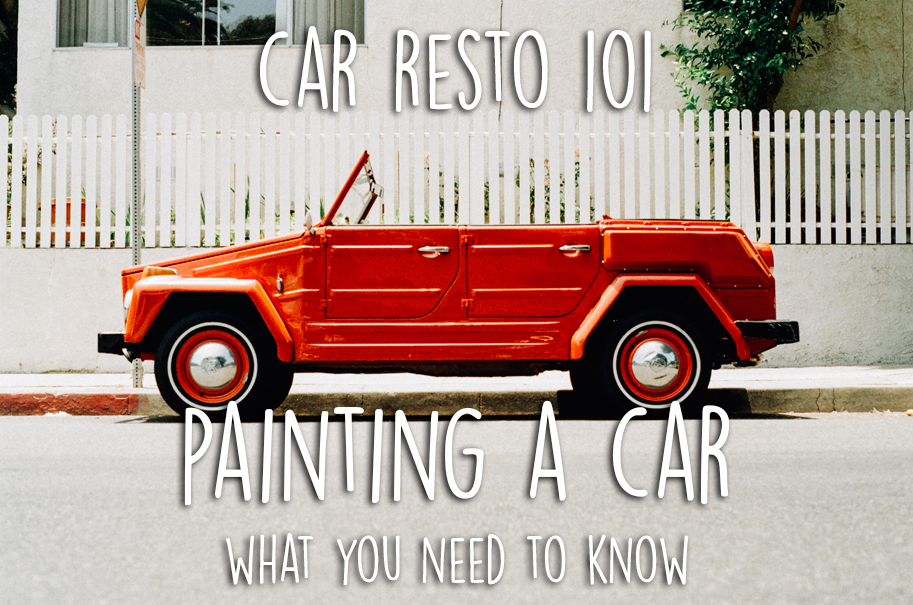
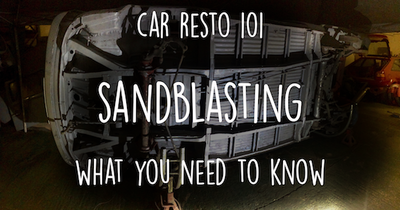
 Welcome back to Car Resto 101, where we explore the various stages of restoring a car in greater detail. Last time I took a look at the pros and cons of abrasive blasting a car- whether it's really necessary and how you could go about doing it yourself. Today I'm looking at another tricky part of car restoration- the painting stage. Painting the car is one of the hardest, most involved stages of any restoration and is probably one of the only stages that I wouldn't recommend doing yourself unless you know what you're doing. As much as I hate to say it, terrible and messy welding (although considered a cardinal sin here at Rotbox Rustorations) can be disguised by an expert filler and painter- whereas a bad paint job can easily ruin a beautifully welded car and will knock hundreds off the value of a vehicle. That being said, the main chunk of work required is in the prep which, good news, is very easy (but also very boring) so, while I wouldn't recommend doing the painting yourself unless you have access to professional equipment, there's plenty of prep work you can get stuck into before shipping it off to a bodyshop for the painting part (that's assuming you haven't got it blasted down to bare metal already, if so none of this applies to you). Let's take a further look at painting a car- whether you should do it and what's involved. Painting a Vehicle Yourself
Other Stuff to Consider
 Sanding can be a nightmare EquipementHere's a list of all the things you'll need for painting your car (properly):
10 Basic Steps to Painting Your Own CarThis isn't a definitive guide, every project is different and depending on what condition the car's in or what you find when you start sanding you might choose to go a different path. But here's the basic steps... 1) Strip DownClean the vehicle thoroughly, then start stripping down the parts that need to come out for painting, like the window seals. You should remove the doors and any other panels that unbolt and paint them separately. There's nothing worse than seeing a car that's been completely lashed over without bothering to remove any window glass, seals, door handles or anything. Label and put away parts in a safe place and make a list of anything you need to replace. Carefully mask over anything you're not removing, such as the interior. 2) Panel WipePanel wipe down the entire bodywork of the vehicle to remove any grease or grit you missed on the wash. Missing out this step and sanding over dirt will just waste your (expensive!) materials and could deeply scratch the bodywork making your job harder than it needs to be. 3) SandWhilst wearing your protective mask and goggles- sand like crazy! At the very least you should take all the shine off the paint using 400 grit. That's the bare minimum of effort required, but feel free to go mad with some rougher sandpaper as long as you get a smooth finish at the end. If you find flecks of rust in the bodywork sand them down to bare, shiny metal and treat them with a rustproofing treatment. Leave to dry then lightly rough it up with a scotch pad. Keep dusting off the vehicle and panel wiping it to check you haven't missed any bits as once the dust gets everywhere it's hard to tell what needs doing more. 4) EtchAny bare metal bodywork needs spraying with etch primer which "eats" into the metal. Leave to set in for 24 hours. 5) FillFiller should be used very sparingly on creases in newly fitted reproduction panels or on welding marks, it should not be used to disguise rot, rust or any other nasty imperfections on your car's bodywork that will bubble out again after a year- these need to be properly chopped out and welded. Put A SMALL AMOUNT of filler into any SMALL dents. If you put too much in it will take ages to sand back, wasting materials not to mention it could crack when the vehicle is painted ruining all your hard work and making it look like a throughly bodged car. 6) PrimerOnce etched and filled, spray the entire vehicle with high build primer. If you've missed anything in the filling stage it will soon become apparent after this step. 7) SandLightly sand the high build primer with 500 grit. This stage requires patience- you don't want to sand back too much, definitely not back to bare metal, or you'll have completely wasted your time. 8) PaintOnce you've completely de-dusted your area and panel wiped the vehicle you're ready to paint. If the masked paper is very dusty you'll need to re-mask it to avoid getting dust in your final paintwork. Give it a wipe over with some tack rags just to get any final bits of dust before you paint the car. 9) Flat BackIf there's any runs, dust or imperfections flat back the vehicle paintwork with some very very wet 2000 grit sandpaper. Once again DO NOT overdo it at this stage or you could ruin the bodywork. 10) PolishAfter you've painted a car you need to give it a final machine polish for a professional finish. ConclusionPainting a car yourself takes a lot of hard work in prep- but it can also be very rewarding and, if done to a good standard, will be one of the things you're most proud of on your car restoration. A good compromise might be doing all the boring sanding work yourself before getting a professional in to fill and paint. Got an opinion? Let us know in the comments You May Also Like...Comments are closed.
|
watch our new youtube channelOur blog delivers brutally honest advice for the “rotbox” in your life with the aim of raising the standard of car projects everywhere.
Practical, direct, actionable ideas and zero bull. Read on. About
|

|
AboutWe're a dedicated, independent fabrication company based in rural North Yorkshire that specialises in light general fabrication work including CNC plasma cutting and CNC sheet metal bending.
|