Rotbox Rustorations | Classic and Custom Welding Shop and Garage
  • Services
    • Panel Fabrication
    • Custom Car Builds
    • CNC Plasma Cutting
    • Sheet Metal Folding
    • Tube Bending
  • Projects
  • Shop
  • About
  • Contact
  • Services
    • Panel Fabrication
    • Custom Car Builds
    • CNC Plasma Cutting
    • Sheet Metal Folding
    • Tube Bending
  • Projects
  • Shop
  • About
  • Contact

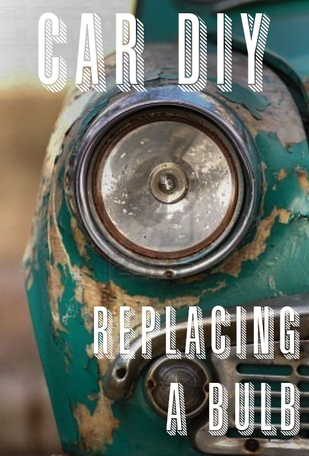
Car DIY: How to Replace a Car Headlight Bulb

4/8/2016

 
replacing a car headlight bulb
Here's another of my Car DIY tutorials where I explain how to do some simple stuff on your car. Last time we were changing a flat tyre like a boss. Today we'll be trying something a bit more delicate that will require some patience (but still practically anyone can do)- replacing a car headlight bulb.

How to Fit a Car Light Bulb

  1. Find the back of the headlight to assess whether you'll have easy access to it. If you have smallish, slim hands you have an advantage here. If not, you may need to move the car battery for better access
  2. Once you've got access, remove the plastic inspection hatch cover on the back of the headlight. Depending on the car, this is usually held on by plastic clips/screws or it might even just twist off (there may be instructions on the cover, a magnetic torch would be very useful here)
  3. Locate your blown bulb inside the headlight and carefully unplug the wiring going into the back of it (remember we're dealing with electrical wiring and glass bulbs here so excessive use of force is not recommended)
  4.  Now on to removing the blown bulb. On newer cars, headlight bulbs usually have a spring clip that goes around the bulb that will need removing first (if you struggle with this don't worry, it can be a bit fiddly, just don't give up)
  5. Once you've got the clip released remove the bulb. Some bulbs just push into the bulb holder, others push in and turn to lock in position. Some newer cars have a different fastening that is more difficult to release (so if the bulb won't come easily do not try and rip it out with force or you'll be needing a full new headlight). It's important to remember how you got the bulb out as if you put the new one in the wrong way it could sit wonky and the beam pattern will be wrong (which is an MOT fail) 
  6. Fit the new bulb (remembering how you removed the old one). If you look at the blown bulb you should see that the glass is blackened where it's "blown" or a break in the filament so check your new bulb doesn't look like this before fitting it
  7. Plug the wiring back on to the bulb and test it's working (if you removed the battery for access obviously you'll need to link that back up to test the bulb)
  8. If the headlight is working replace the cover plate. If not, check the wiring is plugged on properly first and not damaged and then try a different bulb 

Got a question? Let us know in the comments


Picture

Rotbox Grrrl

Hi, I'm Helen. Car enthusiast, blogger and joint owner of Rotbox Rustorations, a welding and vehicle repairs workshop based in North Yorkshire. I love all things car related: restoring, photographing, writing articles and always learning more. If I'm not working on my classic 72 VW Beetle or creating tutorials, I'm probably longboarding or planning our next adventure. 

Comments are closed.
    Our blog delivers brutally honest advice for the “rotbox” in your life with the aim of raising the standard of  car projects everywhere.

    Practical, direct, actionable ideas and zero bull.

    Read on.

    About
    Rotbox Rustorations


    Follow Us


    Shop Our Favourite Tools/ Equipment on our Amazon Page

    visit our etsy shop

    Picture
    Vintage Toy Ratty Bay Window

    Categories

    All
    Car DIY
    Car Wars
    Making Money
    Q&A
    Showdown
    Spending Money
    Videos
    Workshop Life


    Archives

    November 2017
    August 2017
    July 2017
    March 2017
    February 2017
    January 2017
    December 2016
    November 2016
    October 2016
    August 2016
    July 2016
    June 2016
    May 2016
    April 2016
    March 2016

Picture

About

​Here at Rotbox Rustorations we do proper vehicle welding, repairing and modifying- the way it should be done. Since 2014 we’ve been committed to providing decent work from our North Yorkshire based workshop. Our customers appreciate our frank and honest attitude- explaining things exactly as they are without the jargon or condescension. 
Tel: 07742349575
Email: hello@rotboxrustorations.com

© Copyright 2014-2018 Rotbox Rustorations. All rights reserved.
Unit 2, Pickhill Engineering Ltd, Pickhill, Thirsk, North Yorkshire, YO7 4JU