
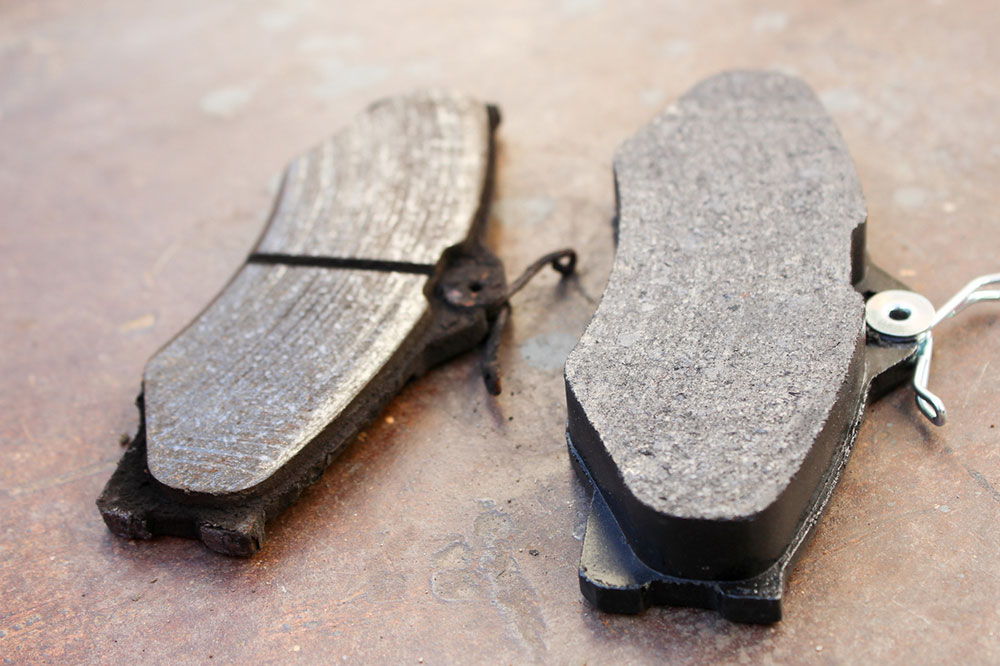
 Our work van passed its MOT on Monday (yay!)- but the test showed it was in serious need of some new brake pads (not so yay). So here's a quick photo demo of Matt showing you how to change the front brake pads on a Volkswagen T25 van. TOOLBOX: YOU WILL NEED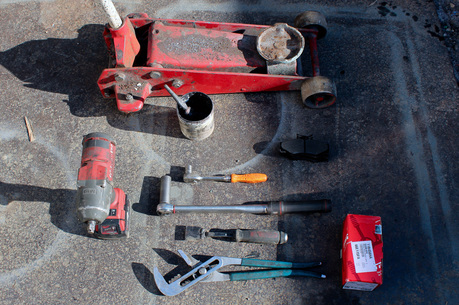
STEP ONE: Jack Up the Van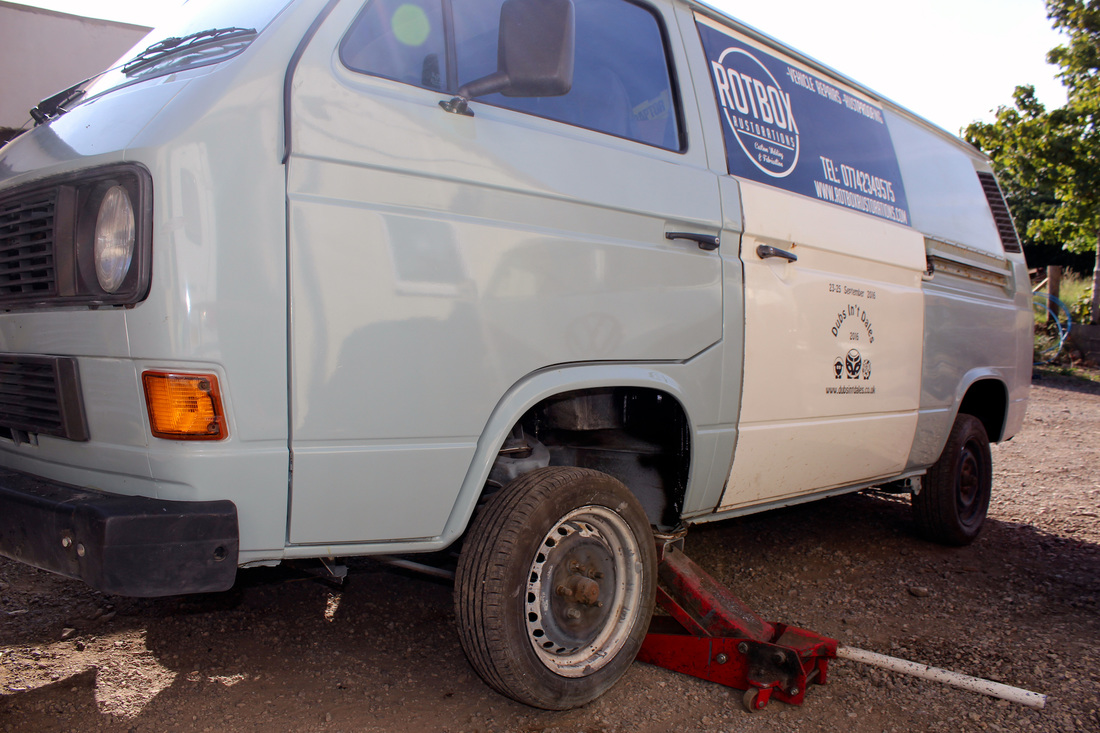 Making sure you're on level ground, jack up the vehicle and secure with an axel stand 2) STEP TWO: Remove the Wheel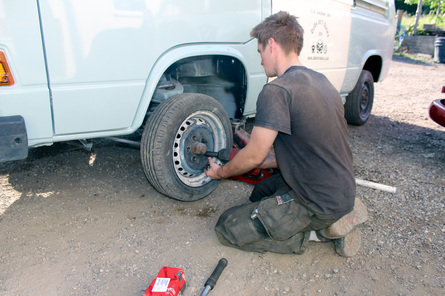 Using your impact gun or other wheel-nut removing tool, whip off all the nuts and take off the wheel 3) STEP THREE: Remove the Calliper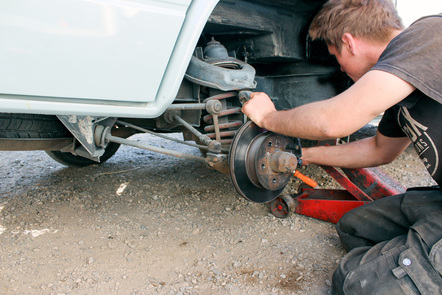 Using your ratchet and 13mm socket, remove the bolts holding on the calliper, pull it off and place it out of the way 4) STEP FOUR: Clean the Caliper Carrier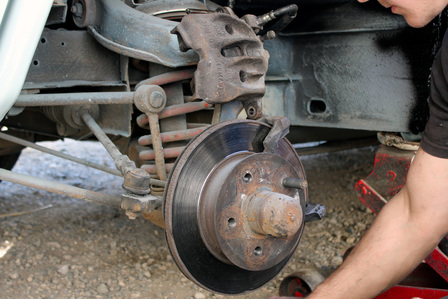 Next use your file or scraper to clean up the calliper carrier 5) STEP FIVE: Push Back The Piston Using your big grips push the piston back 6) STEP SIX: Replace the Brake Pads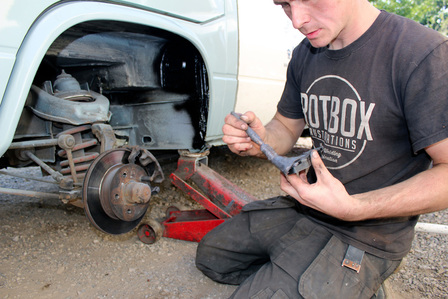 Take out the old brake pads, grease up the new ones and put them into position 7) STEP SEVEN: Refit the Caliper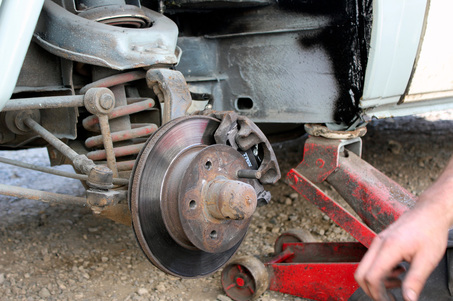 Put the calliper back on (the same way it came off) 8) STEP EIGHT: Put Wheel Back On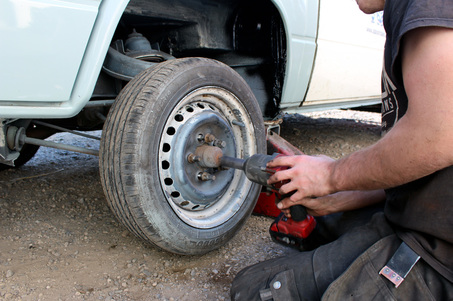 Replace the wheel and tighten the nuts using your impact gun again. Remember to torque up the nuts too with a torque wrench. 9) STEP NINE: Pump Up Brake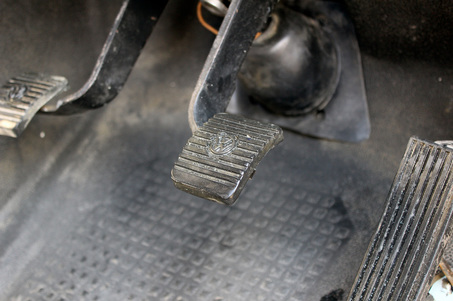 Once you've done both sides, it's time to pump up your brakes- or you'll get a nasty shock when you next go to drive your van! 10) STEP TEN: Check Your Level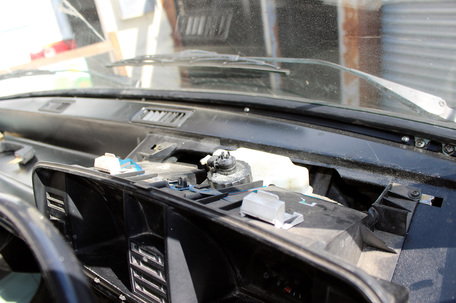 Finally, you need to check your brake fluid level. On T25s this is found underneath the dash cover, as shown in the picture. If it's low just top it up. Use a funnel to stop it going everywhere as it will cause corrosion if you spill any. And That's It!Comments are closed.
|
watch our new youtube channelOur blog delivers brutally honest advice for the “rotbox” in your life with the aim of raising the standard of car projects everywhere.
Practical, direct, actionable ideas and zero bull. Read on. About
|


|
AboutWe're a dedicated, independent fabrication company based in rural North Yorkshire that specialises in light general fabrication work including CNC plasma cutting and CNC sheet metal bending.
|
|